Discord has become one of those platforms that claim to be a multipurpose forum. It provides you with various options to connect. You can stream videos together, chat, call, listen to music, etc. One of these features is a provision for creating your own discord bot that can do automated actions on your server. This feature allows you to modify your server however you want and enhance its efficiency. In this blog, we will be seeing how to create a discord bot.
Also Read: How to create a discord bot without coding
How to make a Discord Bot On Cloud
Ideally, we will be using only a few tools, and you will not have to install anything on your computer. We will be doing this all on the cloud. The tools that we will be using are Discord API, Python libraries, and a cloud computing platform called Repl.it
Create a Discord Bot Account
To work with Discord API and Python libraries, we must first create a discord bot account.
Here are the steps to that:
- Log in to the Discord account through the discord website.
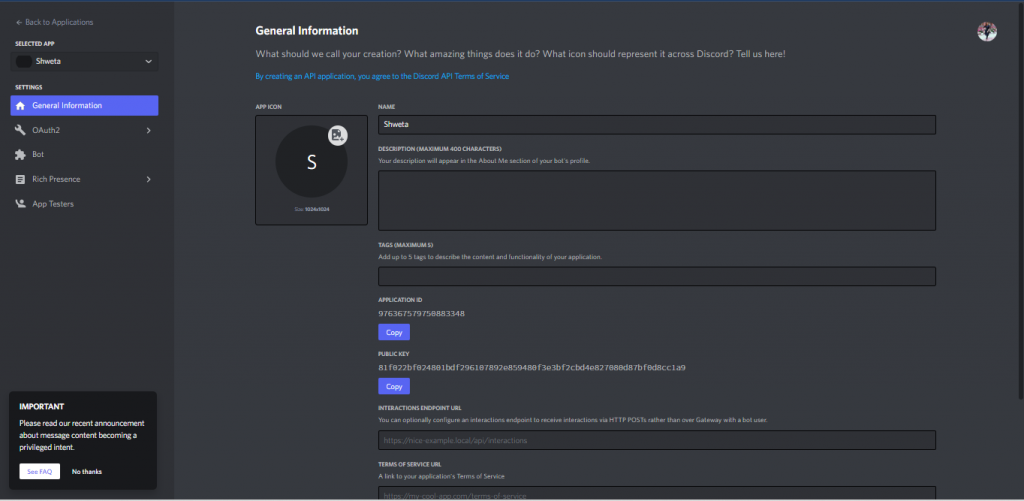
- Click on the ‘New Application’ button on the screen.

- Give a name to your Application and fill out the description section.
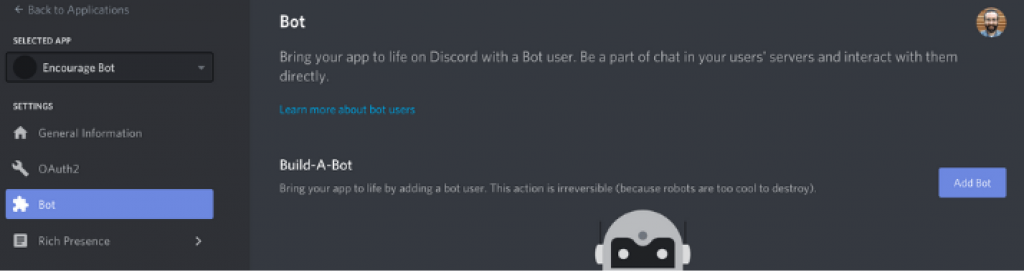
- Go to the ‘bot’ tab and select ‘Add Bot’. Confirm the same by clicking, “Yes, do it!”.
- The default settings must be kept at Public (checked) and Require OAuth Code Grant (unchecked). The bot is created now. The next step is to copy the token. The token acts like a password for the bot and allows anyone with it to make changes to the bot.
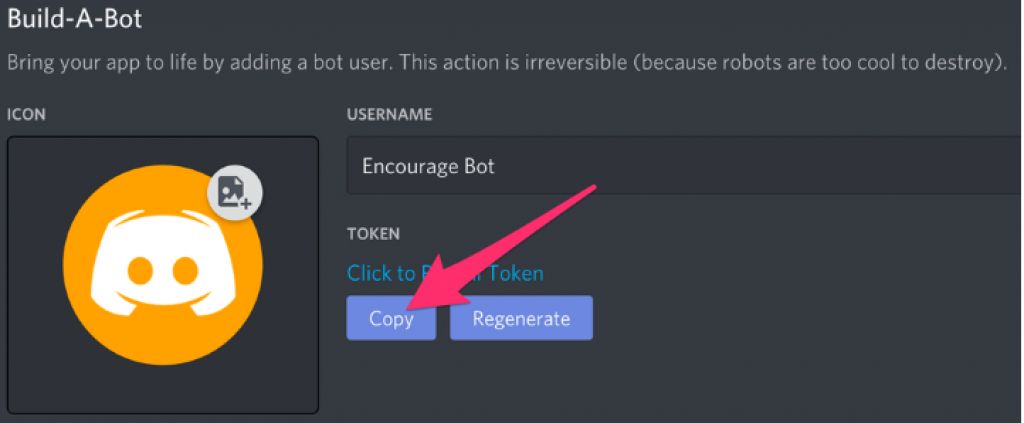
- If it gets leaked, you can generate a new token to avoid your bot being hacked.
Invite the Bot to the Server
- To get the Bot User into the server, you must create an invite URL for it.
- Go to the ÖAuth2″ tab and select “bot” under “scopes”.
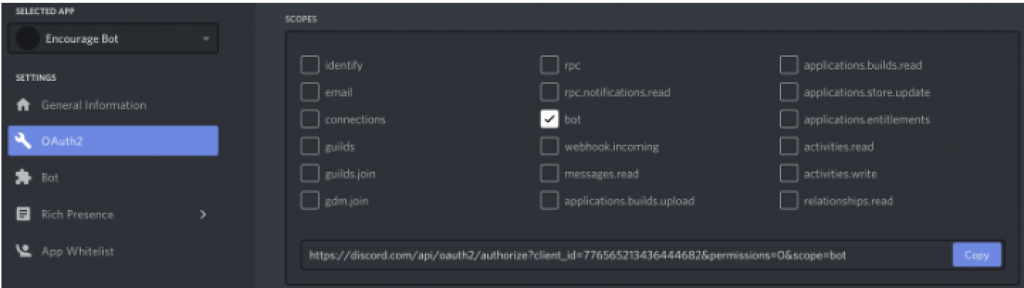
- You can now choose the permissions you want to give the bot. This depends on the type of bot and its use case.
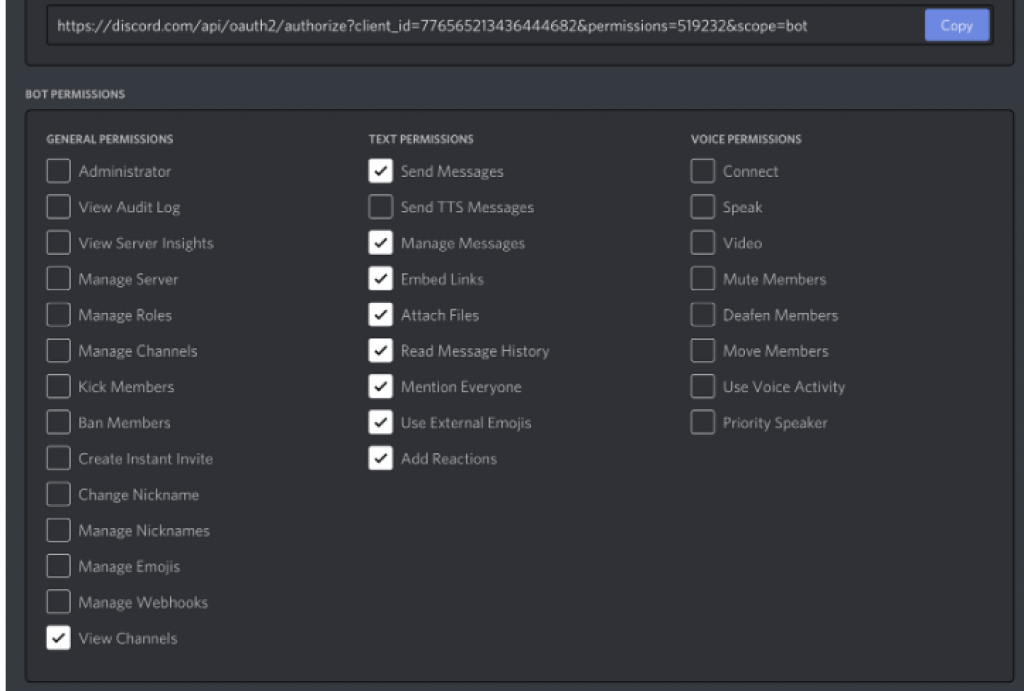
- After this, you can click on the “copy” button. This will copy a URL that allows you to add the bot to any server.
- The URL has to be pasted onto a new browser. Choose the server you want to invite the bot to and click “Authorize”.
Now that the bot is created, we can start writing the Python code.
How to Code a Discord Bot with discord.py Library
Discord.py is an API wrapper for Discord that simplifies the process of creating a Discord bot in Python. We will be using the discord.py Python Library to code for the bot.
Installing Discord.py and Creating Repl
Repl.it is an online IDE that can be used in any web browser. One can develop the bot on their computer with any code editor. However, we will be using Repl.it, as it simplifies the process that is to be followed.
Go to Repl.it and create a new Repl. You can choose the language as Python.
You can type in import discord in the main.py and run it. This will allow Repl to install all the dependencies.
If the bot is coded locally, you can use the following command on macOS to install discord.py:
python3 -m pip install -U discord.pyIf you are a Windows user, then the following command can be used:
py -3 -m pip install -U discord.pySetting Up Discord Events for the Bot
Event is a concept that discord.py uses to respond to actions. It is something you listen to and then respond to. For example, when a message comes through, an event will be received by you which you can respond to.
We can create a bot that replies to a specific message. This is a simple bot code, along with the code explanation taken from the discord.py documentation. We can add more features to the bot later if we want.
You can add this code to main.py (You can name the file anything, just not discord.py). We will get to what all this code does shortly.
import discord import os client = discord.Client()@client.event async def on_ready(): print('We have logged in as {0.user}'.format(client)) @client.event async def on_message(message): if message.author == client.user: return if message.content.startswith('$hello'): await message.channel.send('Hello!') client.run(os.getenv('TOKEN'))Now let’s go over what each line of code is doing in your Discord bot code.
- The first line is to ensure the import of the discord.py library.
- The second line imports the os library, but this is used only if you want the
TOKENvariable from the .env file. If you are not using a.envfile, you do not need this command. - Now, we have to create an instance of a Client. This allows us the connection to Discord.
- The
@client.event()is used for registering an event. This is an ‘asynchronous library’, so things are better done with callbacks. A callback is a function that is reiterated when something else happens. Theon_ready()event is called when the bot is ready to be used. Further, when the bot receives a message, theon_message()event is called. - The
on_message()event is triggered every time a message is received. But, we do not want the bot to do anything if the message is from the author itself. So, if theMessage.authoris the same as theClient.usercode returns. - Now, we have to check if it
Message.contentbegins with'$hello'. If it does, the bot will reply with an'Hello!'in the channel it was used in. - The bot is set up now, and the final code runs the bot with the given token. It receives the token from .env the file.
When the bot user was created on Discord, you copied a token. Now, we can create a .env file to store the token. If the code is run locally, there is no need for the .env file. You can replace os.getenv(‘TOKEN’) it with your token.
.env are files that are used to declare the environment variables. On Repl.it, most files are visible to anyone, but .env files will only be visible to you. People viewing a public repl will not have access to the file’s contents.
So, when you are developing on Repl.it, make sure only to include private information like tokens or keys in a .env file.
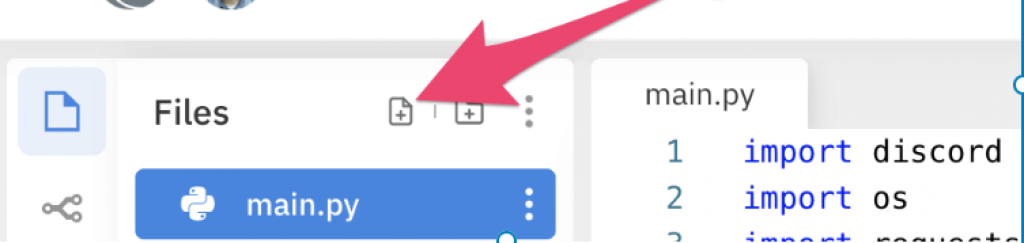
Click the “Add file” button and create a file named. .env.
In the file, you can use the following command to include the actual token you copied earlier:
TOKEN=[paste token here]
We have to run the bot now.
How to Run the Bot
Click the ‘run’ button on top to run your bot in repl.it.
If you are writing the bot locally (the type of OS), you can use the following lines to run the bot:
For Windows:
py -3 main.pyFor other systems:
python3 main.pyYou can now go to your Discord room and type “$hello”. Your bot should say “Hello!”.
You can also go through the below-embedded tutorial for an alternative method of creating a discord bot.
Creating a discord bot of your own seems like a very tough job to do but when you do not have to code much, it really becomes a simple task. You do not really need any coding experience or knowledge, per se, to implement the above process and build yourself an efficient discord bot.


